Installation
Video Tutorial
General installation instructions
Thingsee POWERCOVER is installed to the desired place with a double sided tape. The installation placement depends on the sensor that is used with the Thingsee POWERCOVER.
Thingsee POWERCOVER can be delivered either with the sensor device already installed to the Thingsee POWERCOVER or without it.
Things to avoid in installation
Avoid installing Thingsee products near the following:
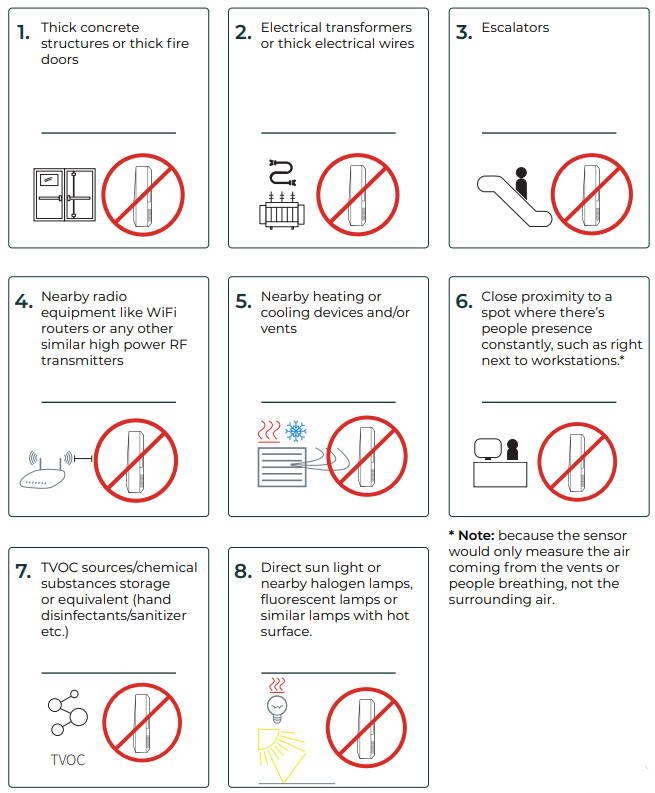
Installation
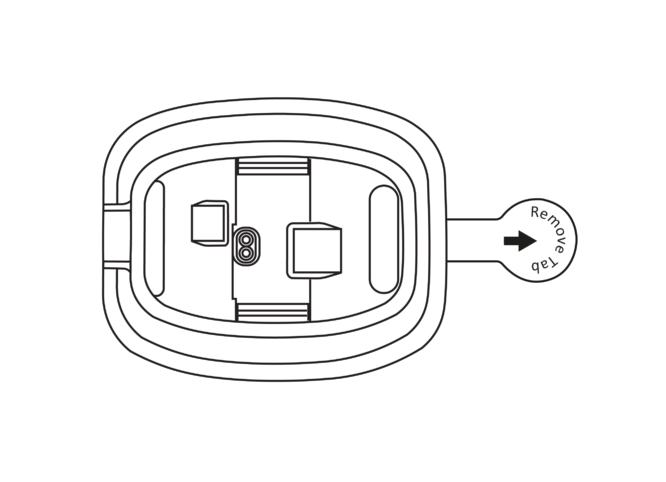
Thingsee POWERCOVER is delivered with batteries assembled inside. Pull away the battery security tab and the device is ready for use.
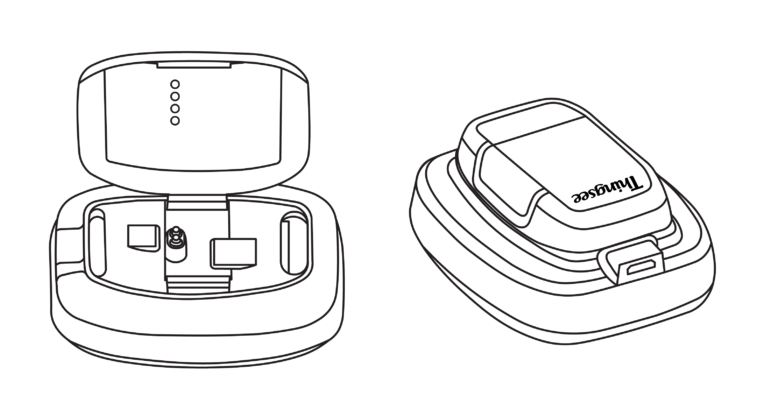
Thingsee POWERCOVER can be delivered either with the sensor pre-assembled or without the sensor device. If you need to assemble a sensor to Thingsee POWERCOVER, first remove the bottom cover and batteries from the sensor. The sensor can then be just snapped to its place on top of Thingsee POWERCOVER. Make sure that the direction of the sensor is correct for assembly. After snapping to its place, the sensor is ready for use.
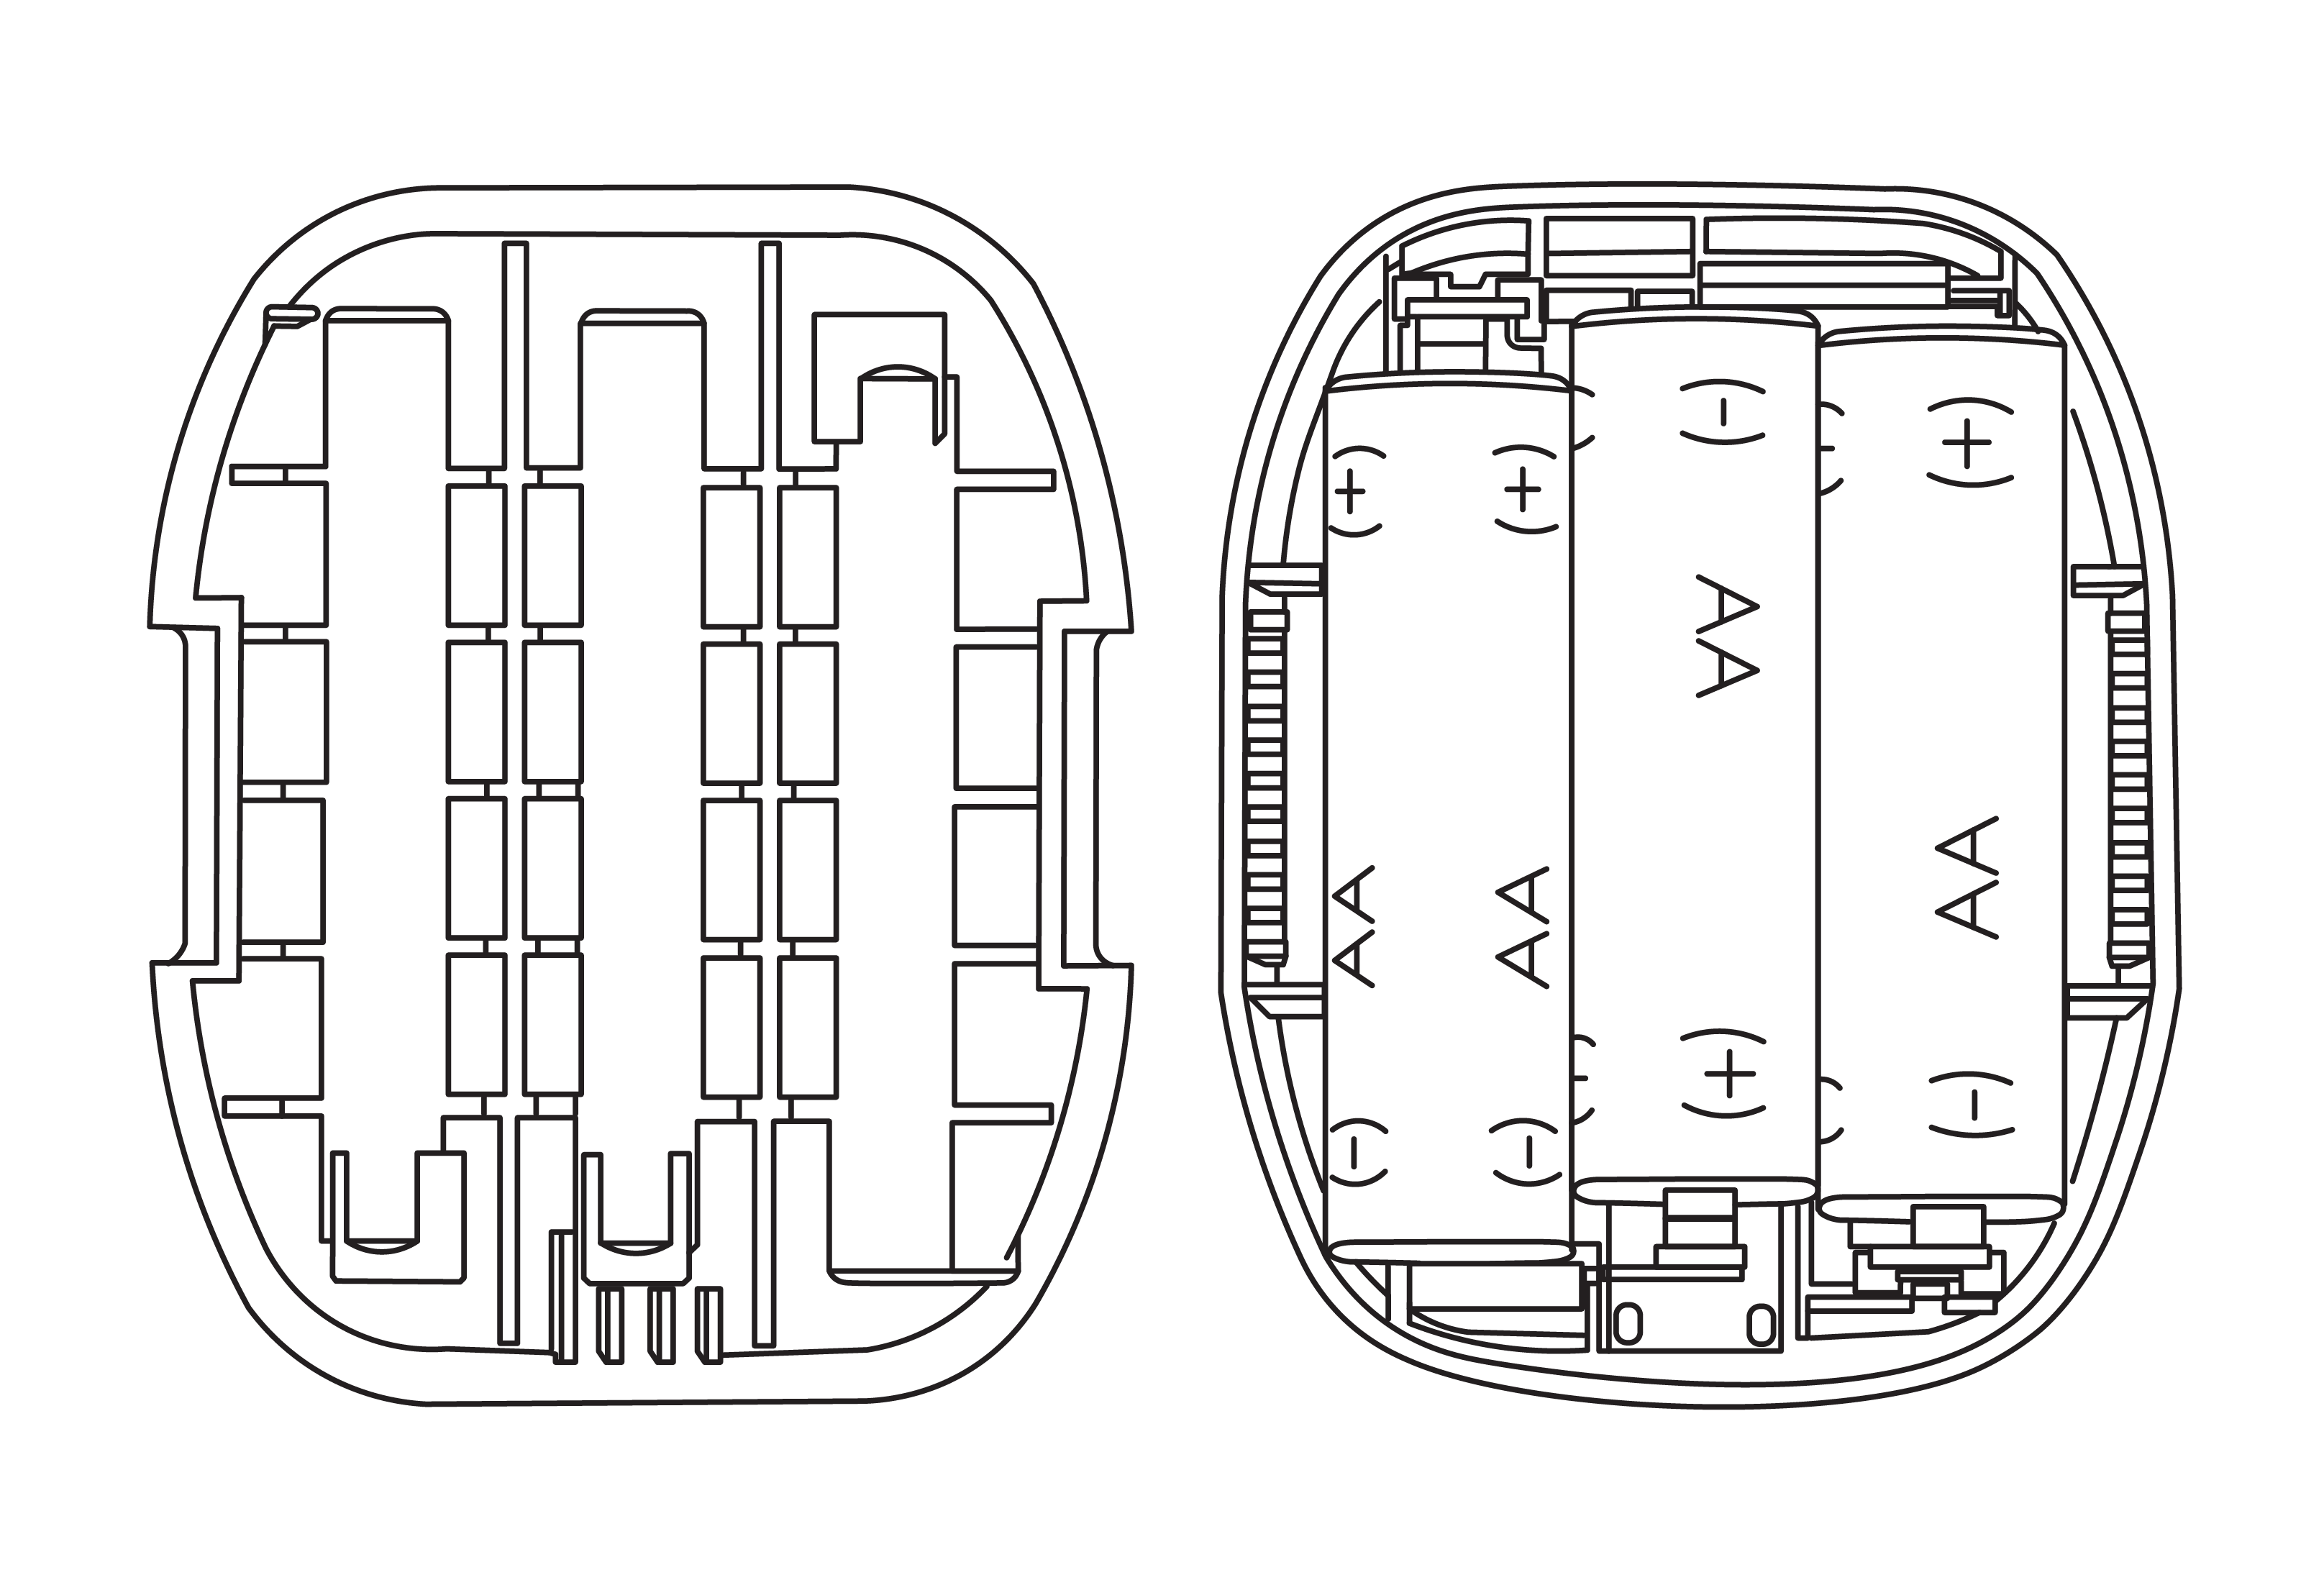
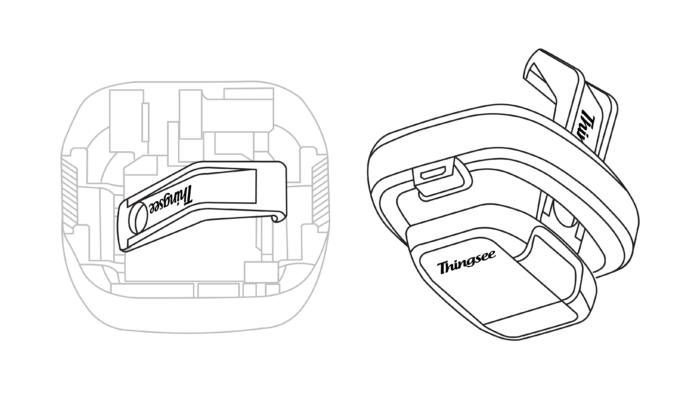
If you need to open the device (e.g. for changing the batteries), use the opening key provided with the device.
Place the opening key to the slot between Thingsee POWERCOVER covers and bend the key away from the device.
If you change the batteries, please use Lithium batteries to ensure correct functionality. The recommended battery type is Energizer® Ultimate Lithium. When placing the bottom cover back, please note the correct direction of the cover.
If you want to remove the sensor from the Thingsee POWERCOVER, remove the batteries first. Place the straight end of the Opening Key to the slot inside the Thingsee POWERCOVER. Push the tool towards the sensor and the sensor is released.
The double-sided tape at the bottom of the device can be used for attachment.
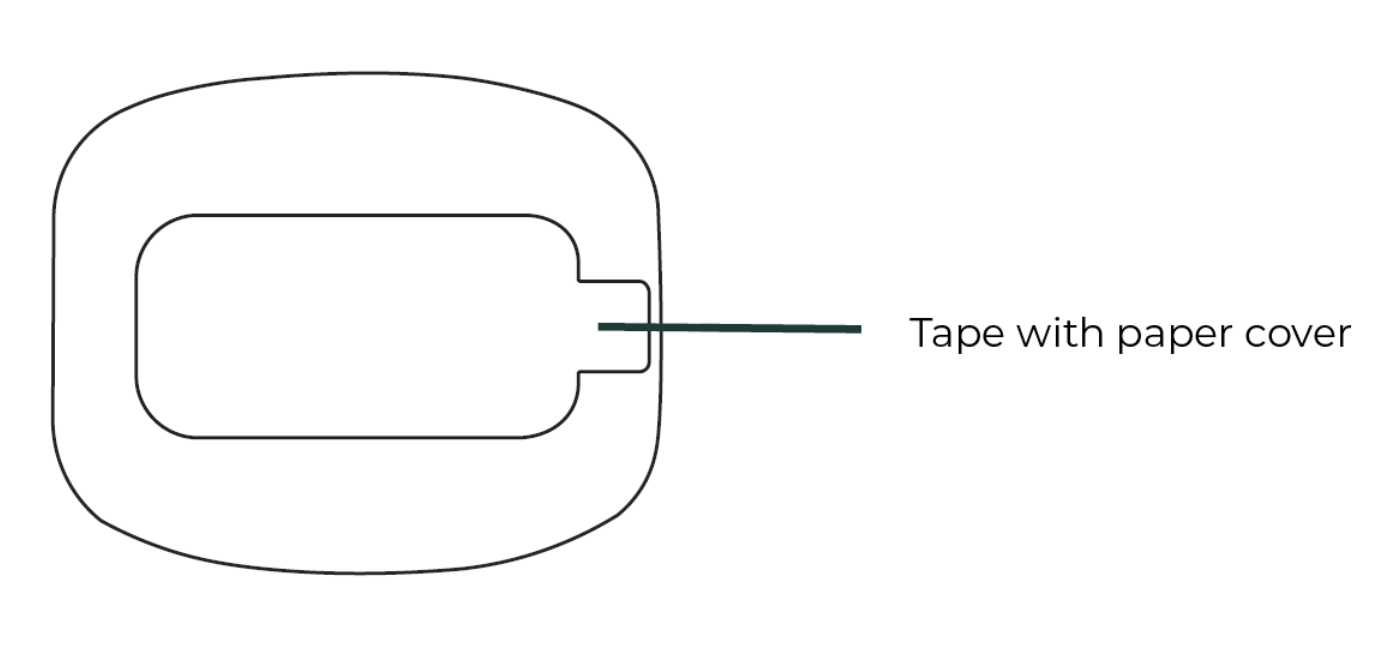
Remove the tape cover and attach the device to a clean, flat surface by pushing firmly for minimum of 5 seconds.
Use IPA solvent (isopropyl alcohol) to clean the attachment surface before installation.
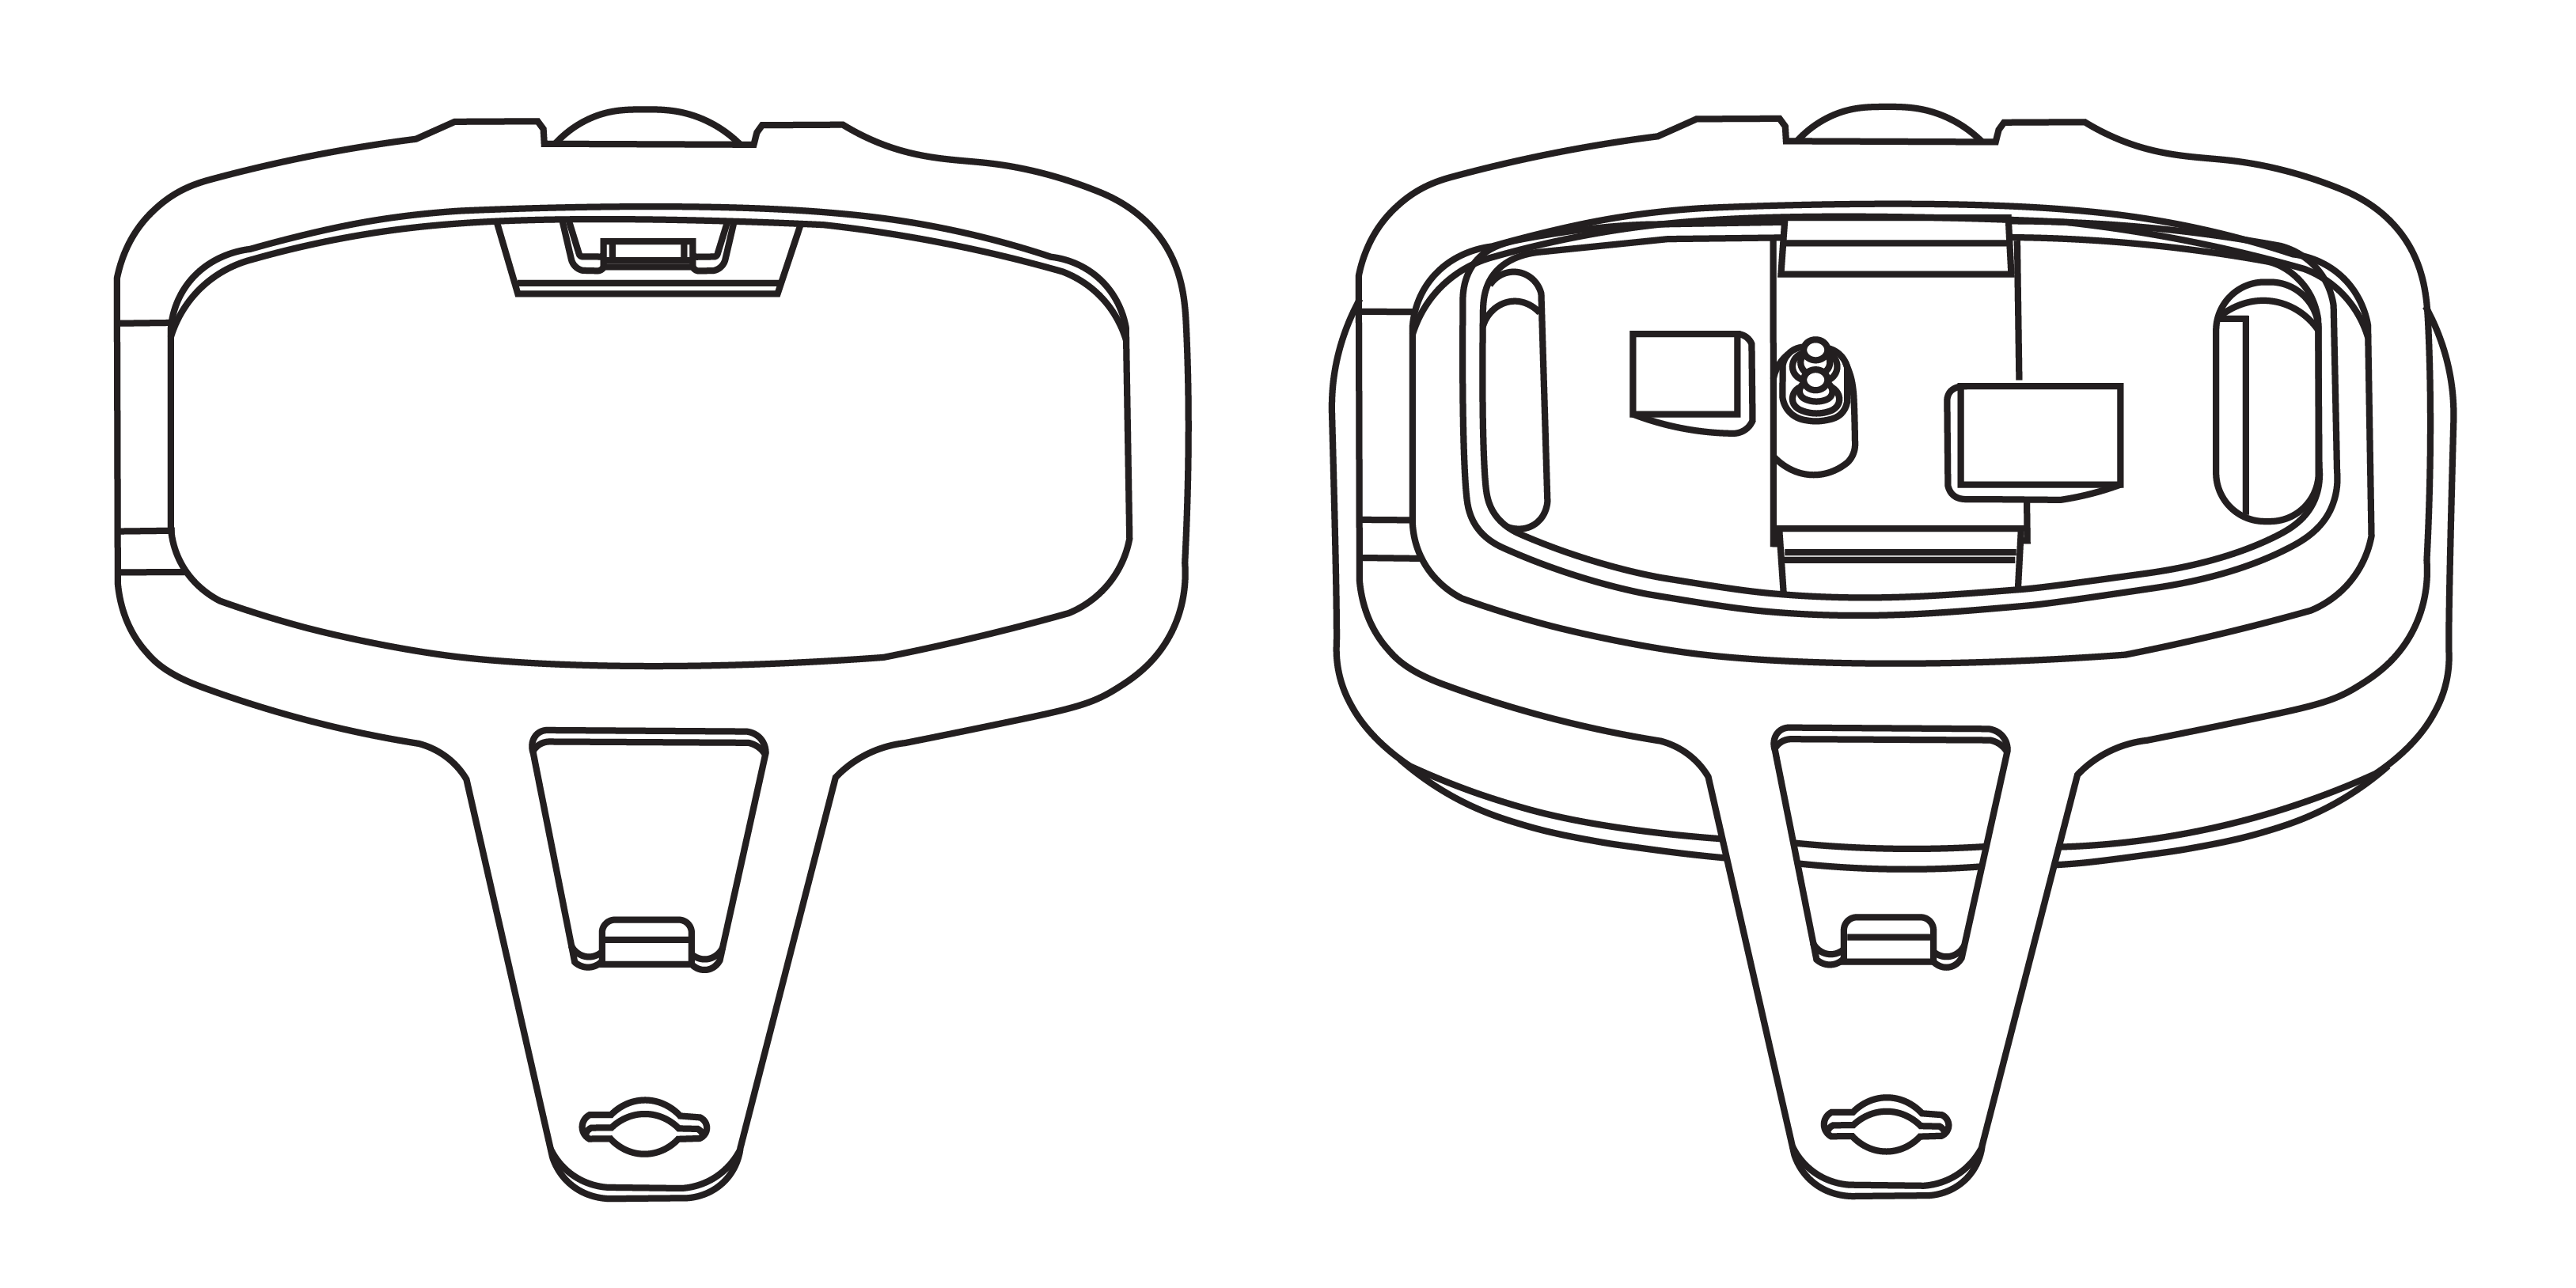
If you want to ensure the attachment with screws, you can use an accessory available separately from Haltian Products.
Using micro-USB power source
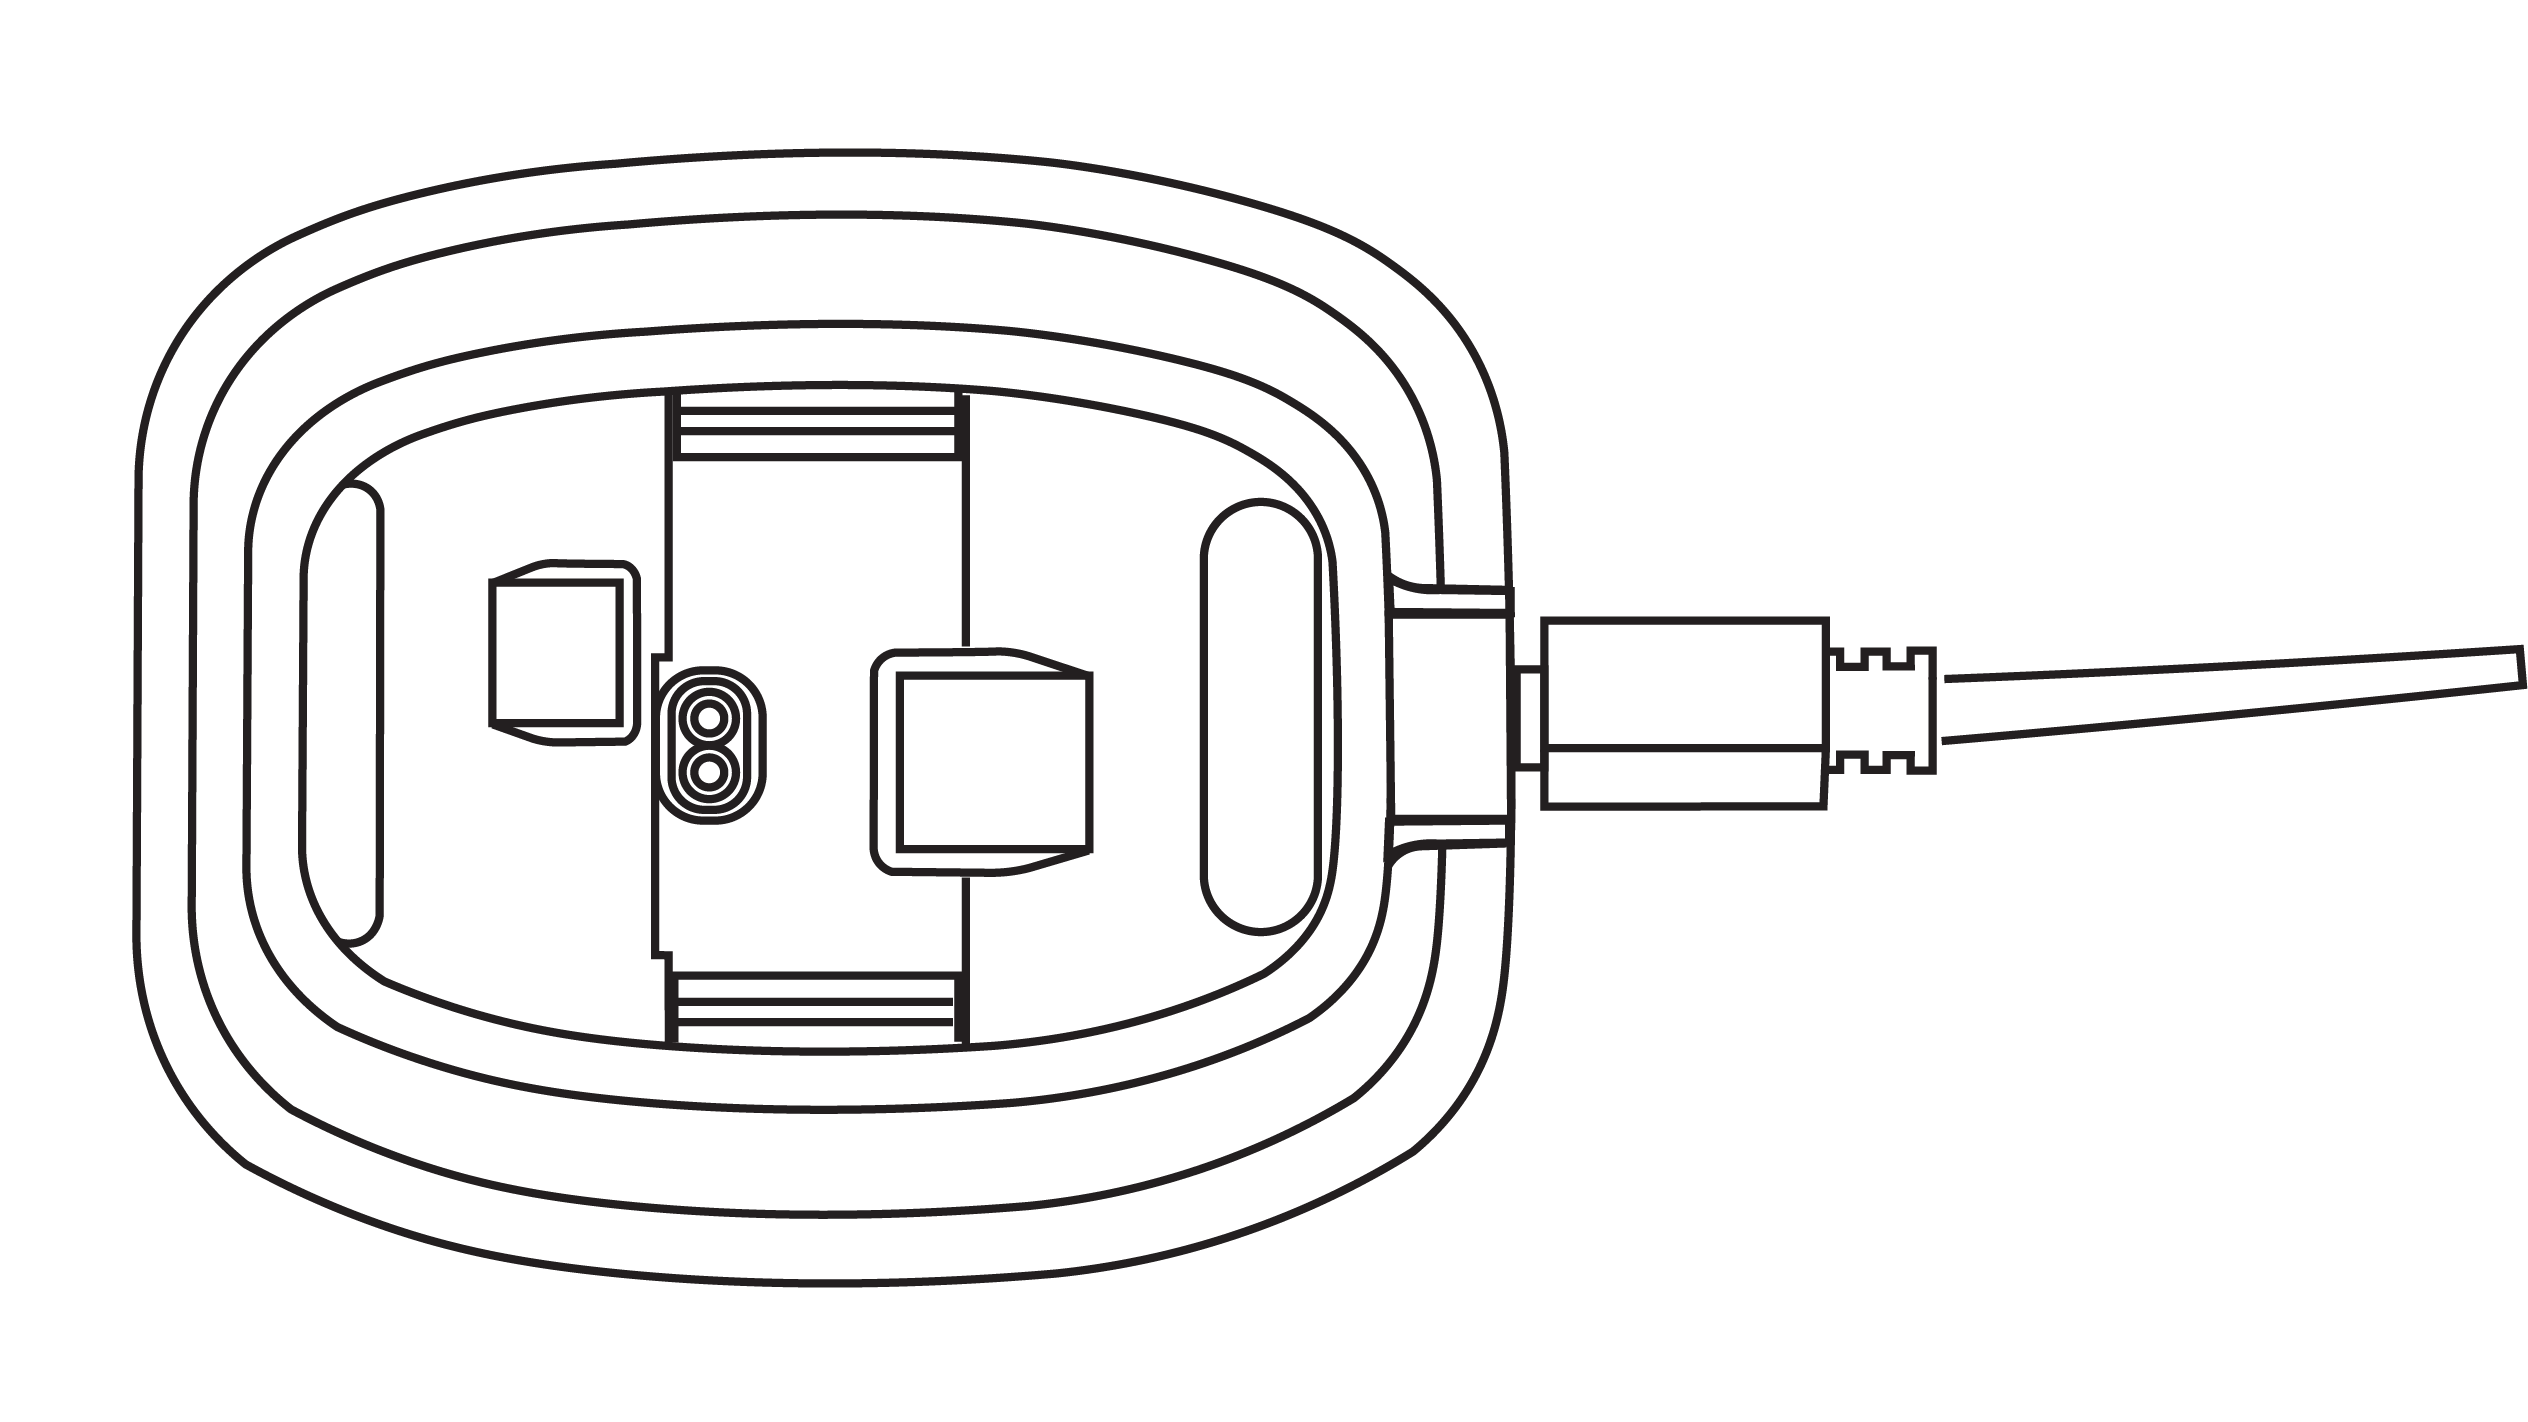
The recommended micro-USB power source is Sunny SYS1381N-1205-W2E (for Europe).