Users and Permissions
Overview
The Users and Permissions page lets you manage who has access to your organization and what they can do. You can create new user accounts, assign roles, restrict access to specific sites, and remove users.
This feature is available to Manager role only. It appears under Organization → Users and Permissions. If you don’t see it, your role doesn’t include user management — contact your organization’s Manager.
Accessing Users and Permissions
- Click Organization in the top navigation
- Click Users and Permissions in the sidebar
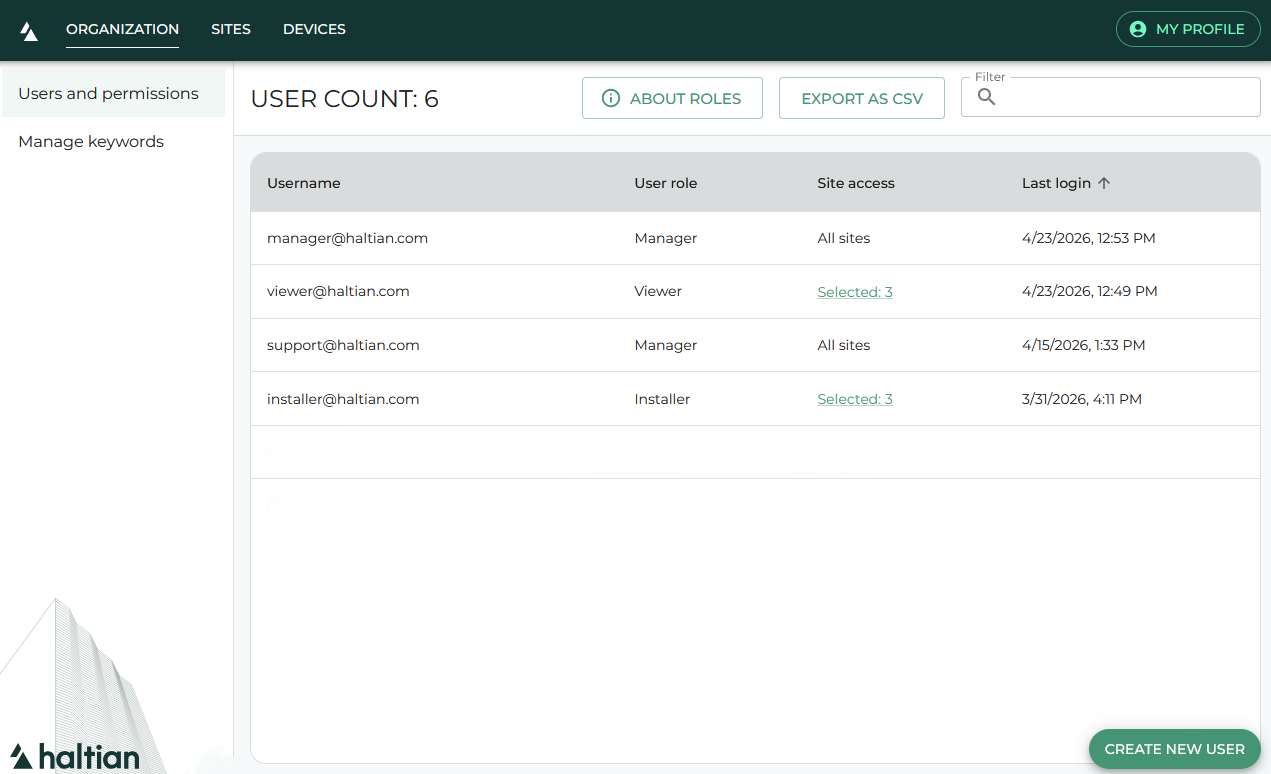
You see a list of all users in your organization. Click Export as CSV in the toolbar to download the user list as a semicolon-delimited CSV file.
Creating a User
- Click the + button to open the Create New User dialog
- Fill in the required fields:
| Field | Description |
|---|---|
| The user’s email address (used as their login username) | |
| Role | Select a role: Manager, Designer, Installer, or Viewer |
| Site Access | Choose All Sites or Selected Sites |
| Initial Password | Set a temporary password for the user |
- If you chose Selected Sites, a site list appears — check the boxes for each site the user should access
- Click Create
After creation, the initial password is copied to your clipboard so you can share it securely with the new user.
Ask the new user to change their password on first login via their profile menu.
Understanding Site Access
Site access determines which parts of the space hierarchy a user can see:
- All Sites — The user sees all sites, buildings, floors, zones, and devices in the organization
- Selected Sites — The user only sees the specific sites you select, and the buildings, floors, zones, and devices within them
This is useful for large organizations where installers or viewers only need access to their assigned locations.
Editing a User
- Click a user in the list to open the Edit User dialog
- You can change:
- Role — Select a different role
- Site Access — Switch between All Sites and Selected Sites, or modify the selected sites
- Click Save
When changing a user from a site-specific role to an organization-wide role (or vice versa), a confirmation dialog appears explaining the impact of the change.
Deleting a User
- Click a user in the list
- Click Delete User (red button at the bottom of the edit dialog)
- Confirm the deletion
The dialog shows the user’s email address for confirmation. The user immediately loses access to the organization.
You cannot delete your own account. If you need to remove yourself, another Manager must do it.
Role Permissions
| Action | Viewer | Installer | Designer | Manager |
|---|---|---|---|---|
| View sites and devices | ✅ | ✅ | ✅ | ✅ |
| Edit devices | — | ✅ | ✅ | ✅ |
| Create/edit sites, buildings, floors, zones | — | — | ✅ | ✅ |
| Manage keywords | — | — | ✅ | ✅ |
| Manage users | — | — | — | ✅ |
For complete role details, see Roles and Access Management.
Next Steps
- Profile Settings — Users can change their own password
- Site Management — Set up the sites users will access
- Keywords Management — Organize devices with keywords