Site Management
Overview
The Sites section lets you define your physical space hierarchy. This structure organizes where your devices are installed and helps you navigate your deployment by location.
The hierarchy follows this pattern:
Site (location/campus)
└── Building
    └── Floor (with optional floor plan image)
        └── Zone (room, area, or section)
All roles can browse sites, buildings, floors, and zones. Creating, editing, and deleting requires Designer or Manager role.
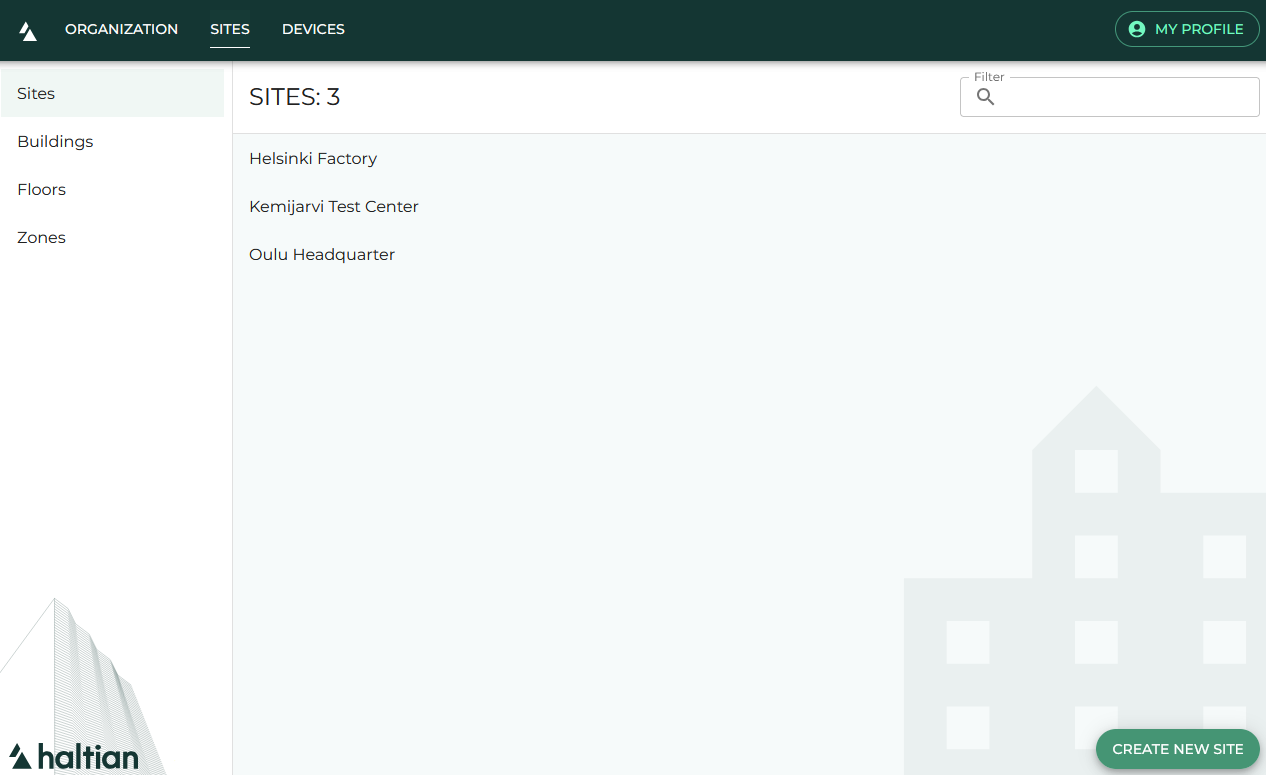
Sites
A site represents a physical location — a campus, office park, factory, or any top-level grouping.
Browsing Sites
- Click Sites in the top navigation
- Click Sites in the sidebar
- Use the filter field to search by name
Click any site to open its details.
Creating a Site
Requires Designer or Manager role.
- Click the + button (bottom-right corner)
- Enter a site name
- Set the geographic location on the map — click or drag the marker to the correct position
- Click Save
The map location helps orient floor plans and provides geographic context for your deployment.
Editing a Site
In the site details view:
- Edit name — Click the pencil icon next to the site name, enter the new name, and save
- Edit location — Click Edit (or Add if no location is set) to reposition the site on the map
Deleting a Site
Requires Designer or Manager role.
In the site details view, click the Delete button and confirm. Deleting a site also affects buildings, floors, and zones within it.
Deleting a site cannot be undone. Make sure the site and its contents are no longer needed.
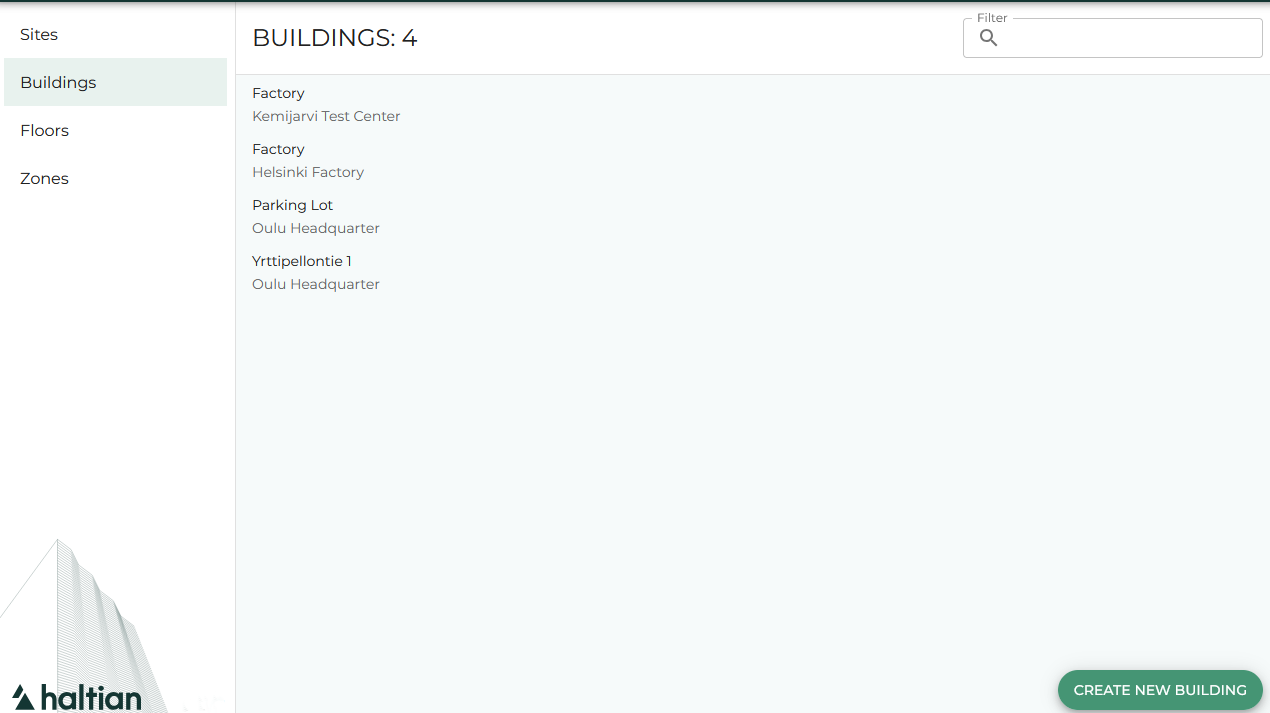
Buildings
A building belongs to a site and represents a single structure.
Browsing Buildings
- Click Buildings in the sidebar
- Use the filter field to search by building name or parent site name
Each building shows its name and the site it belongs to.
Creating a Building
Requires Designer or Manager role.
- Click the + button
- Enter a building name
- Select the parent site from the dropdown
- Click Save
Editing a Building
In the building details view:
- Edit name — Click the pencil icon, enter the new name, and save
The parent site and UUID are shown as read-only information.
Deleting a Building
In the building details view, click Delete and confirm.
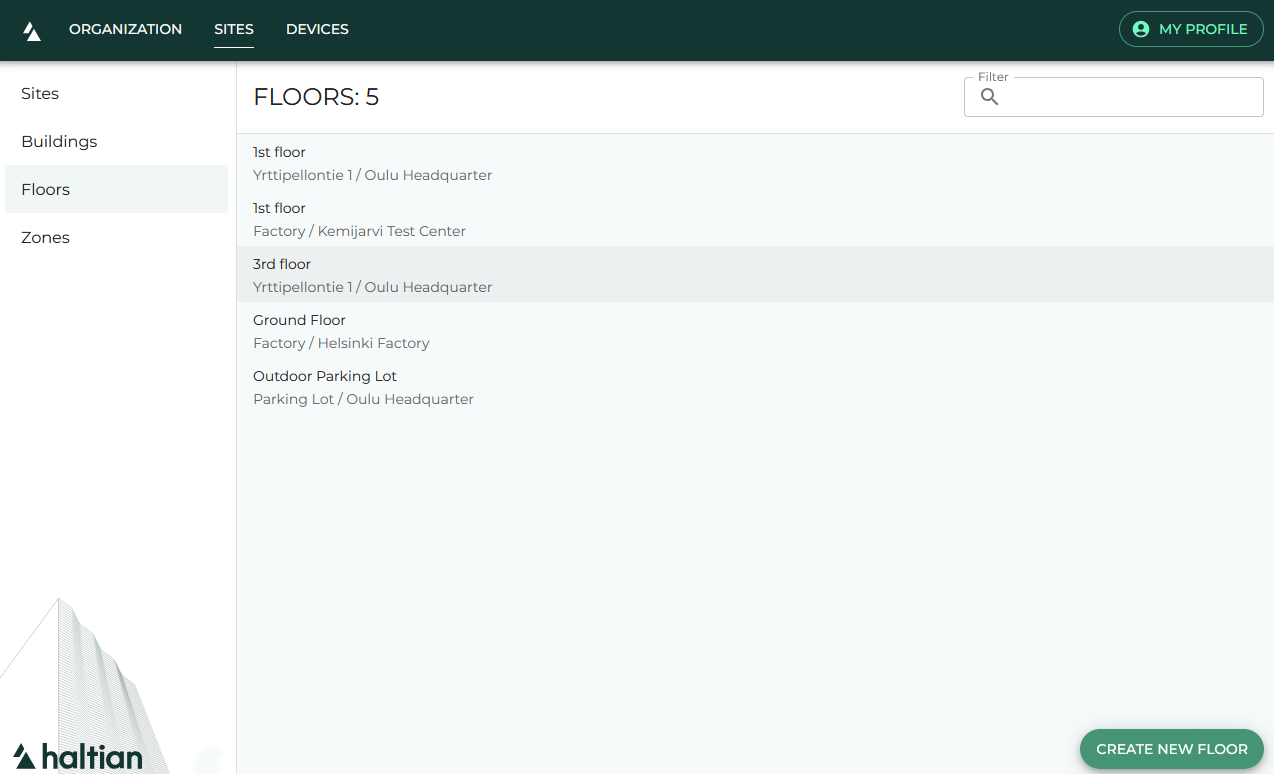
Floors
A floor belongs to a building. You can upload a floor plan image and position it on the map, which enables zone drawing and device placement.
Browsing Floors
- Click Floors in the sidebar
- Use the filter field to search by floor name, building, or site
Each floor shows its name and the building/site hierarchy it belongs to.
Creating a Floor
Requires Designer or Manager role.
- Click the + button
- Enter a floor name
- Select the parent site — this loads the available buildings
- Select the parent building
- Optionally upload a floor plan image by clicking the image icon
- Position and scale the floor plan on the map
- Click Save
Floor plan image requirements:
- Formats: JPEG, PNG (JPEG is automatically converted to PNG)
- The image is displayed on the interactive map where you can position, scale, and rotate it
Editing a Floor
In the floor details view:
- Edit name — Click the pencil icon
- Edit floor plan — Click the edit button to reposition the floor plan on the map, or upload a new image
Deleting a Floor
In the floor details view, click Delete and confirm.
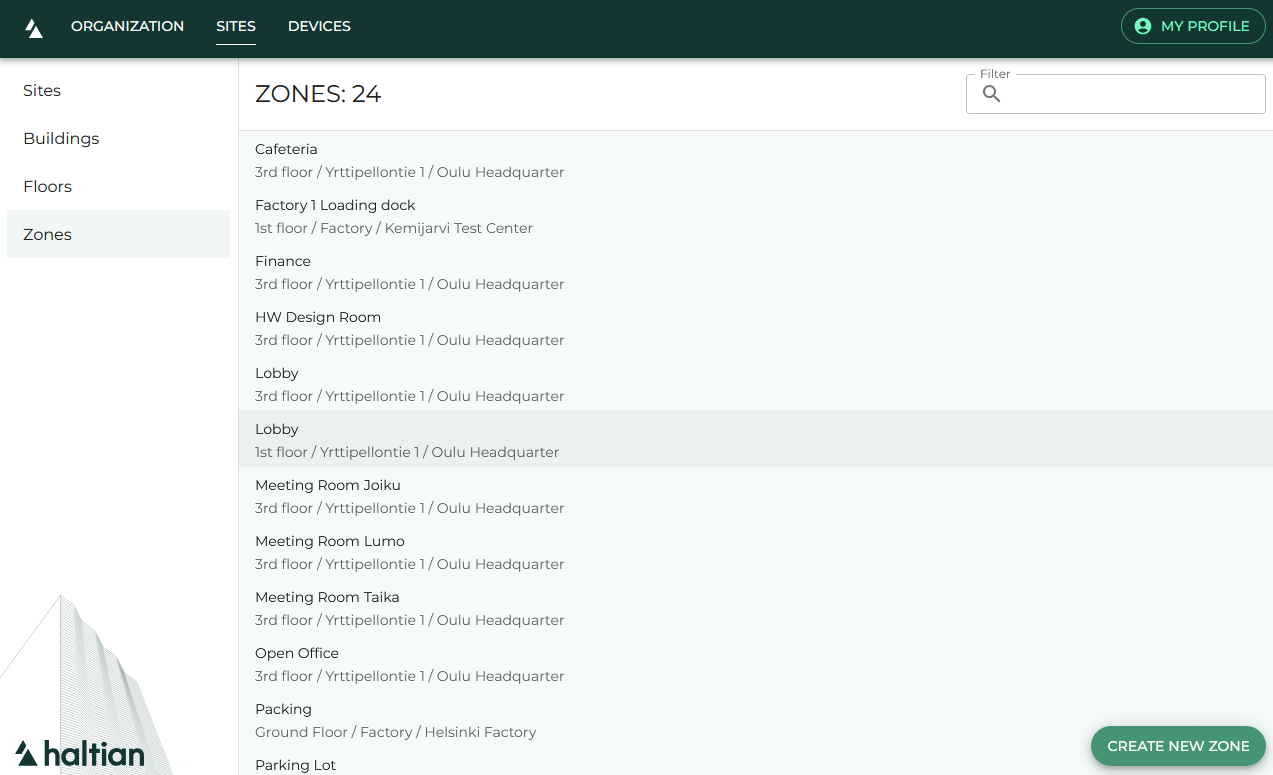
Zones
A zone represents a room, area, or section within a floor. Zones are drawn as polygons on the floor plan.
Browsing Zones
- Click Zones in the sidebar
- Use the filter field to search by zone name, floor, building, or site
Each zone shows its name and the full hierarchy (site → building → floor).
Creating a Zone
Requires Designer or Manager role.
- Click the + button
- Enter a zone name
- Select the parent floor from the dropdown
- Draw the zone boundary on the floor plan by clicking to create polygon points
- Click Save
The parent floor must have a floor plan image uploaded before you can draw zones. If you see a “floor plan required” message, upload a floor plan first.
Editing a Zone
In the zone details view:
- Edit name — Click the pencil icon
- Edit keywords — Click the pencil icon next to Keywords to assign or remove keyword tags (shown as a checklist)
- Edit zone placement — Click the edit button to redraw the zone boundary on the floor plan
The zone details also show read-only information: parent site, building, floor, and UUID.
Deleting a Zone
In the zone details view, click Delete and confirm.
User Permissions on Sites
Requires Manager role.
Site details, building details, and zone details include a User Permissions button. This lets Managers control which users have access to specific sites. See Users and Permissions for details on site-level access control.
Next Steps
- Devices by Model — Browse devices in your sites
- Keywords Management — Create keywords for zone organization
- Users and Permissions — Control who can access which sites