Getting Started
Logging In
Open Haltian Studio in your browser. On the sign-in screen, select Sign in with account or Sign in with SSO.
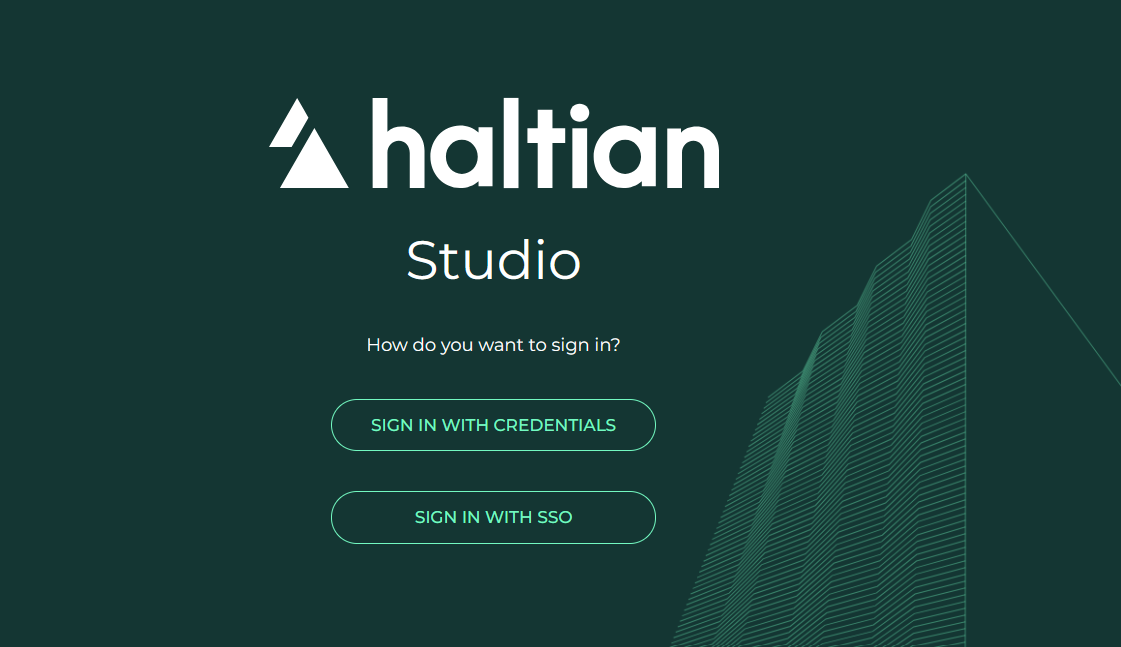
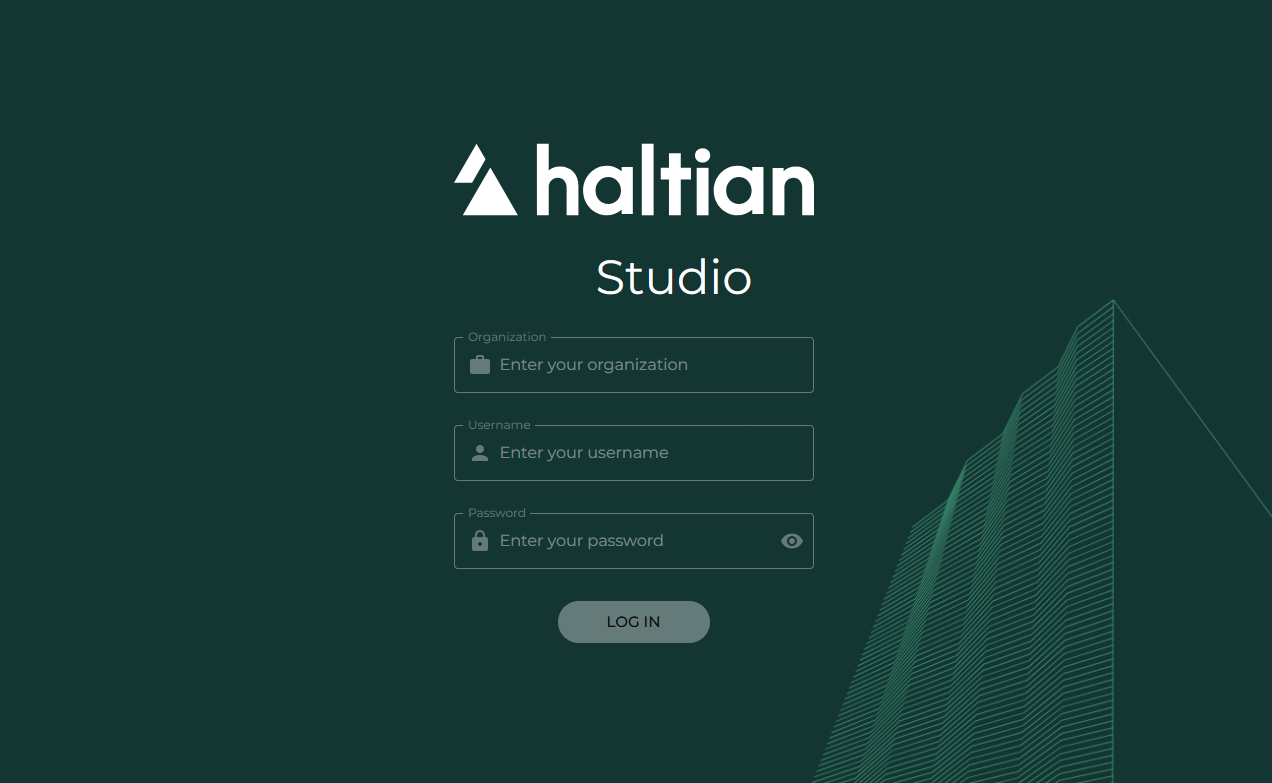
Sign In with Account
- Select Sign in with account
- Enter your credentials:
| Field | Description | Example |
|---|---|---|
| Organization | Your organization name | mycompany |
| Username | Your email address | user@company.com |
| Password | Your account password |
- Click Login
Sign In with SSO
- Select Sign in with SSO
- Enter your organization name
- Select Sign in with SSO
- Complete authentication through your organization’s sign-in page
Single sign-on must already be configured for your organization. Contact Haltian if you need SSO enabled or cannot continue with SSO sign-in.
If login succeeds, you are taken to the main application view. If it fails, check your credentials and try again — see Troubleshooting for common login issues.
If you don’t have credentials yet, contact your organization’s Manager to create an account for you.
Application Layout
The interface has three main areas:
Top Navigation Bar
The top bar contains the main section tabs and your profile menu:
- Sites — Manage your physical space hierarchy (visible to all roles)
- Devices — Browse and manage your device fleet (visible to all roles)
- Organization — Manage users and keywords (visible to Managers and Designers)
- Alerts — Review low-battery and inactive devices (visible to Managers, Designers, and Installers)
Your profile icon is in the top-right corner. Click it to see your organization, username, role, and options to change your password or log out.
Sidebar
Each main section has a sidebar on the left with sub-pages. The sidebar changes depending on which top-level tab you selected:
Sites sidebar:
- Sites
- Buildings
- Floors
- Zones
Devices sidebar:
- Devices by Keywords
- Devices by Model
- Device Groups
- Search or Scan Devices
Organization sidebar (Manager and Designer only):
- Users and Permissions (Manager only)
- Manage Keywords
- Integrations → MQTT (Manager only)
Alerts sidebar (Manager, Designer, and Installer only):
- Battery Alerts
- Inactivity Alerts
The sidebar items you see depend on your role. If a section described here is not visible to you, your role does not include that permission.
Content Area
The main working area takes up most of the screen. Here you browse lists, view details, edit settings, and work with your data.
What to Do First
Depending on your role, here are good starting points:
If You’re a Viewer
You have read-only access. Start by exploring:
- Click Sites to see your organization’s locations
- Click Devices → Devices by Model to browse all devices
- Click any device to view its details, measurements, and location
If You’re an Installer
You can view and edit devices. Start with:
- Click Devices → Search or Scan Devices to find a specific device
- Use the QR scanner (device camera or external barcode scanner) to quickly locate a device by its label
- Click a device to view or update its details
- Click Alerts → Inactivity Alerts to identify devices that need attention
If You’re a Designer
You can create and manage sites and keywords. Start with:
- Click Sites → Sites to review the space hierarchy
- Click Organization → Manage Keywords to set up keyword tags
- Create the site structure your organization needs (sites, buildings, floors, zones)
If You’re a Manager
You have full access. Start with:
- Click Organization → Users and Permissions to review user accounts
- Set up the site hierarchy under Sites
- Configure keywords under Organization → Manage Keywords
- Configure MQTT streaming under Organization → Integrations → MQTT, when needed
Next Steps
- Site Management — Set up your space hierarchy
- Device Search — Find devices quickly
- Device Details — Understand the device detail view
- Device Alerts — Monitor low-battery and inactive devices
- Profile Settings — Change your password